Permissions
First Launch & Permission Setup
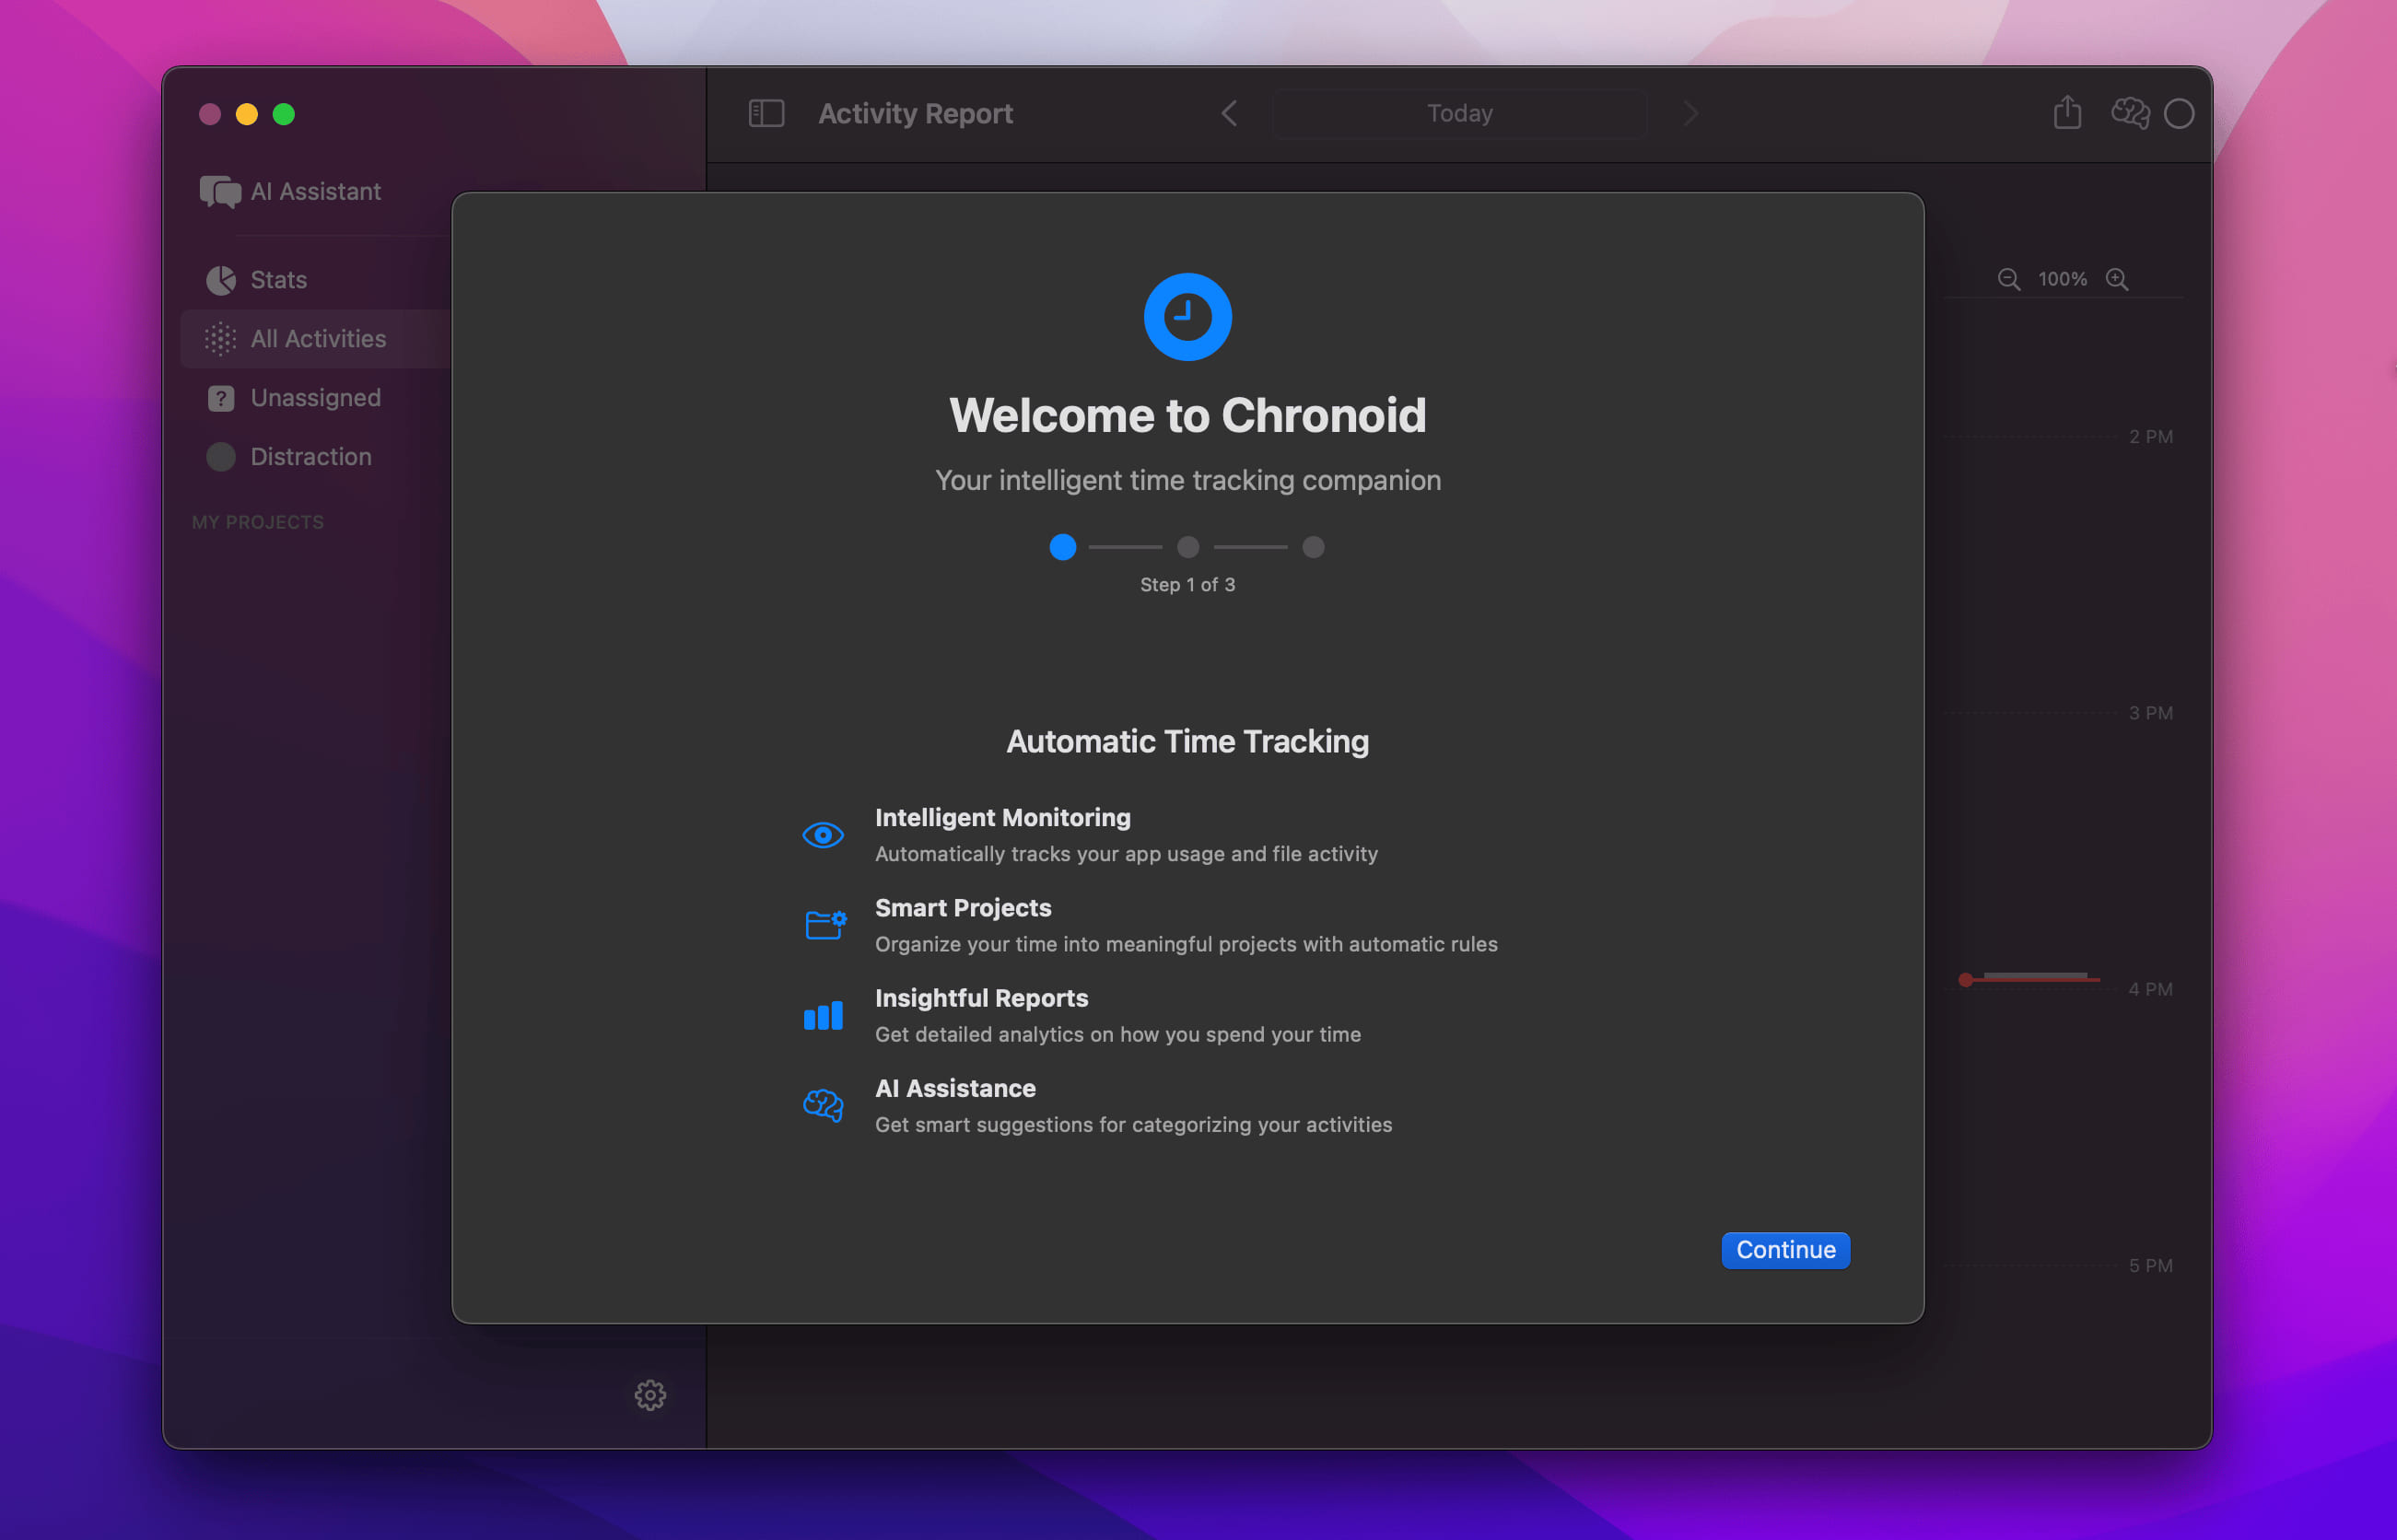
Open Chronoid & Complete the Setup
Once installed, open the app for the first time. Chronoid will guide you through the setup process to ensure it can track your productivity accurately.
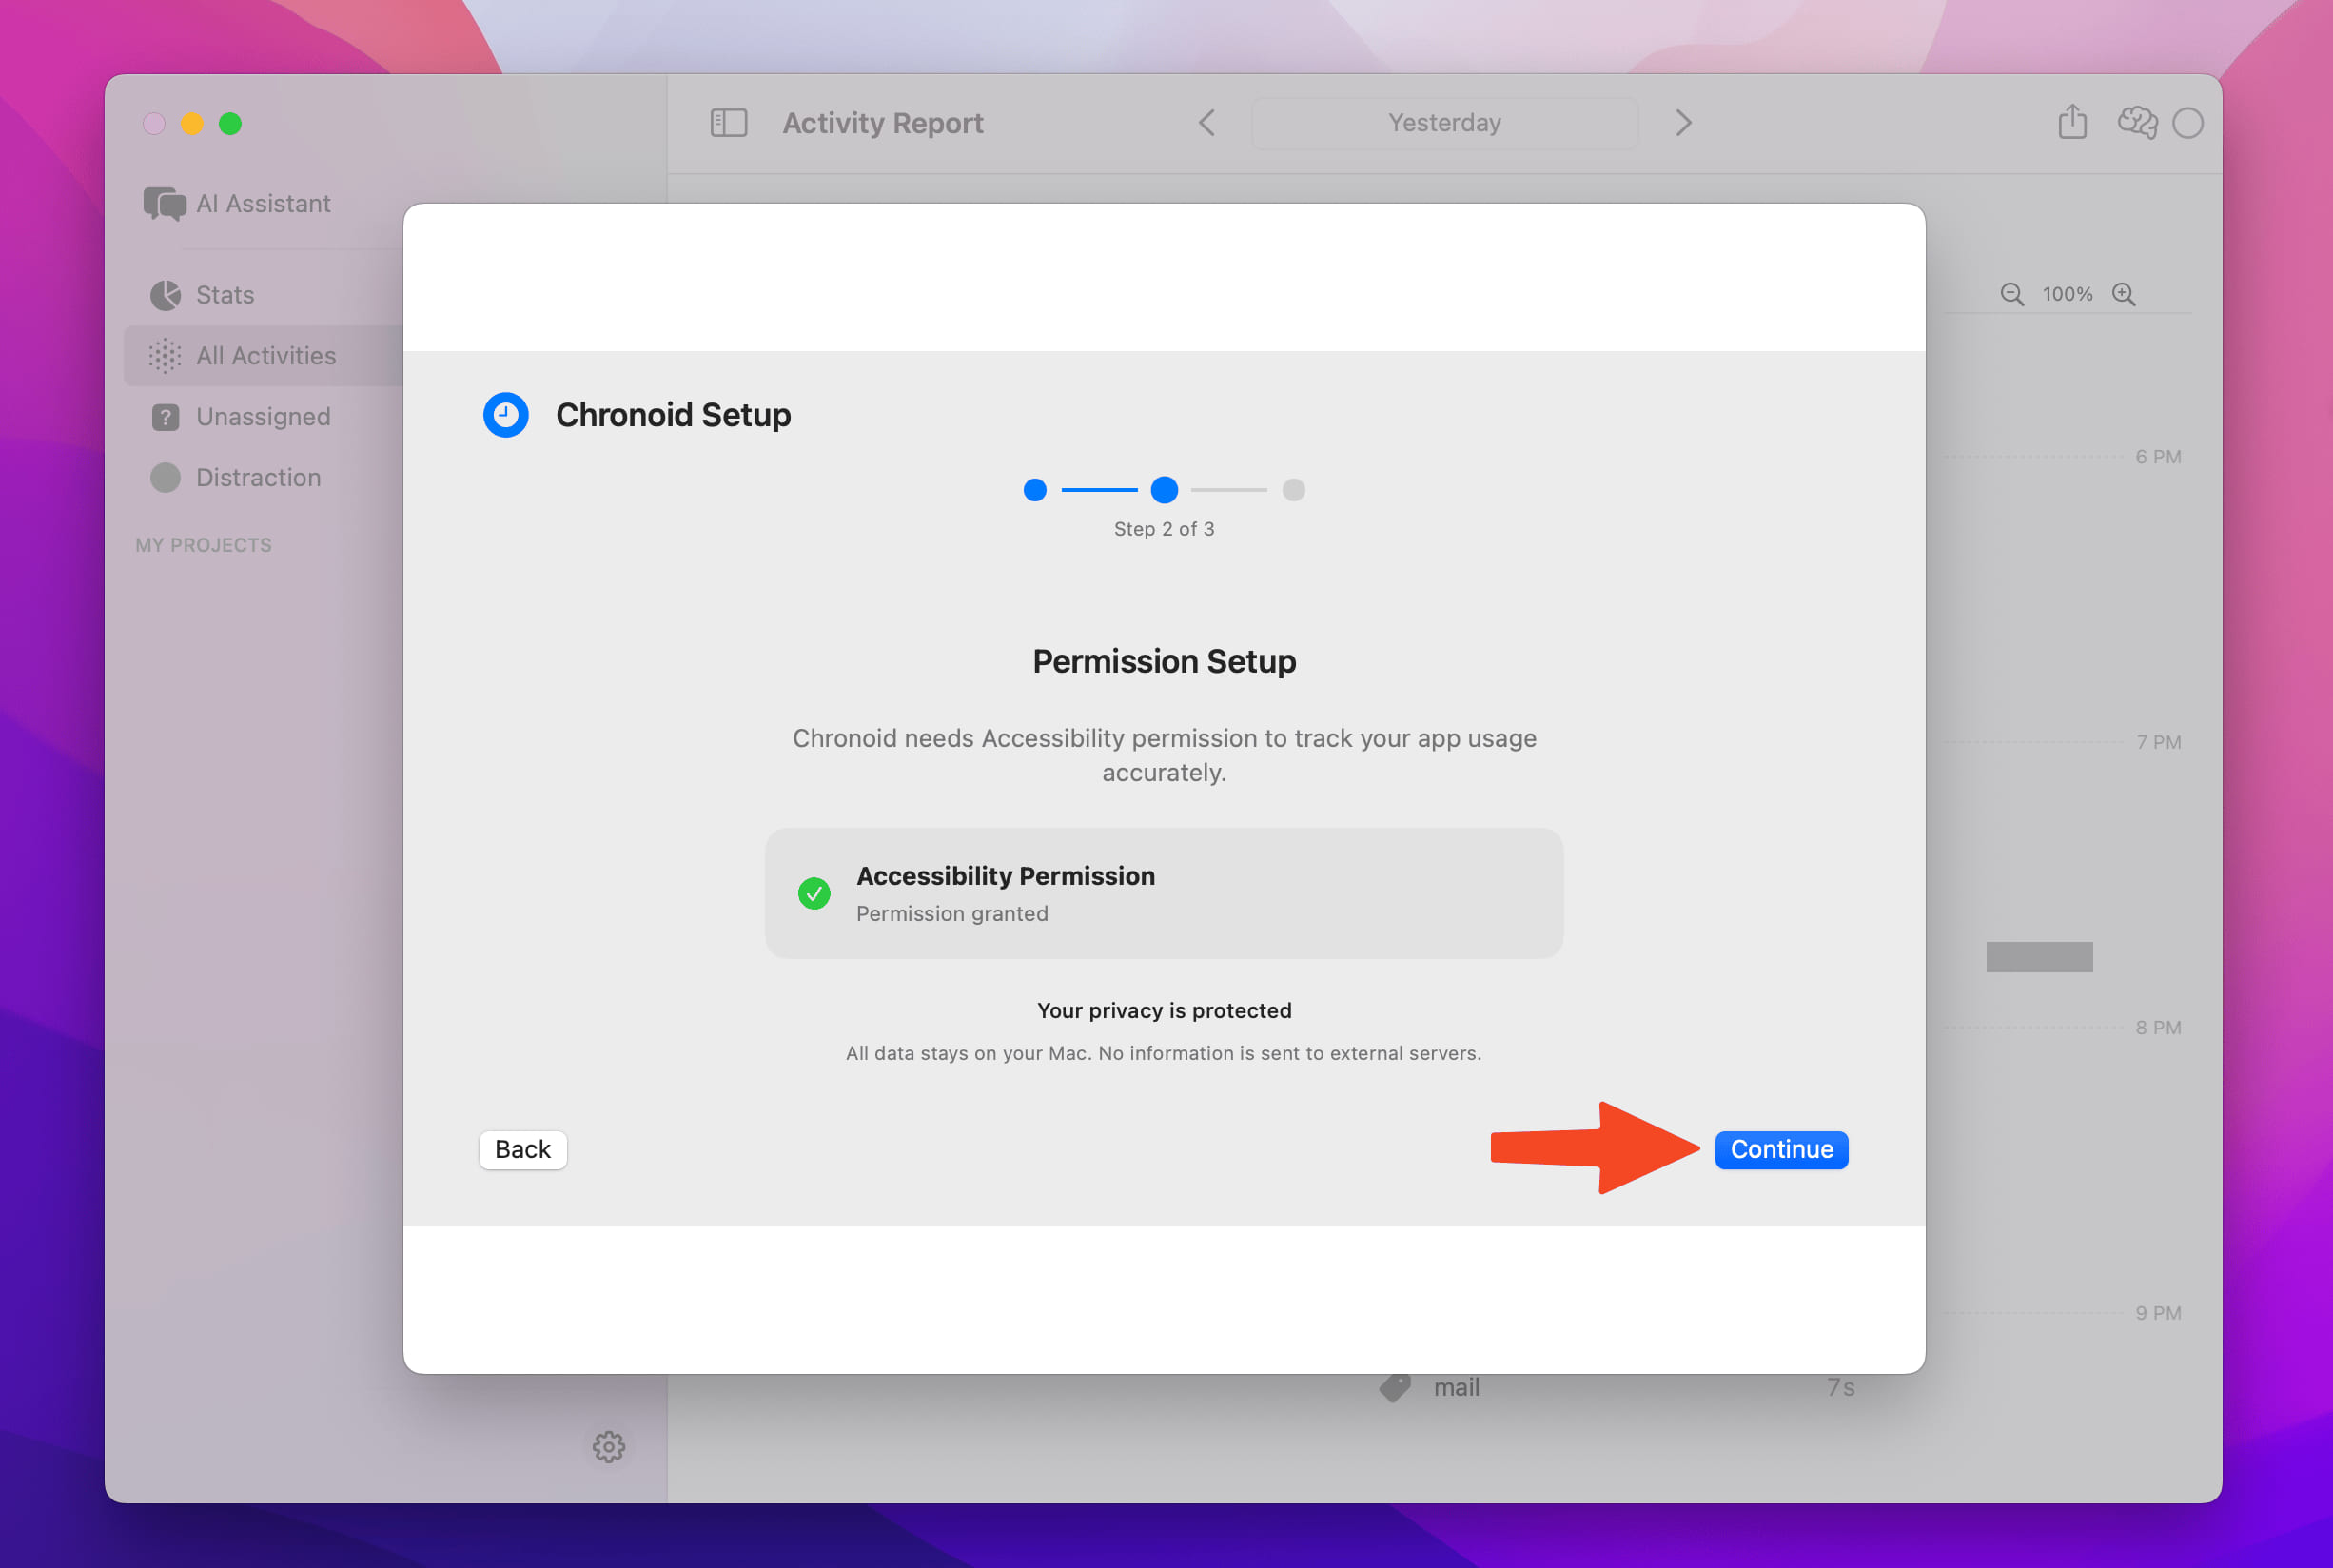
Step 1 — Grant Permissions
Chronoid needs several macOS permissions to track activity and automate tasks correctly.
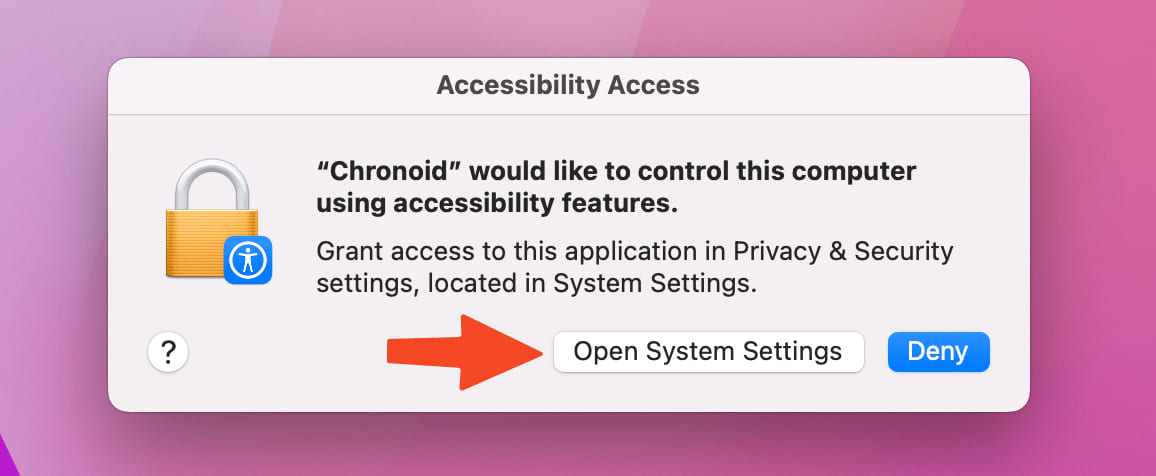
Accessibility Permission
- When prompted, click Request Permission.
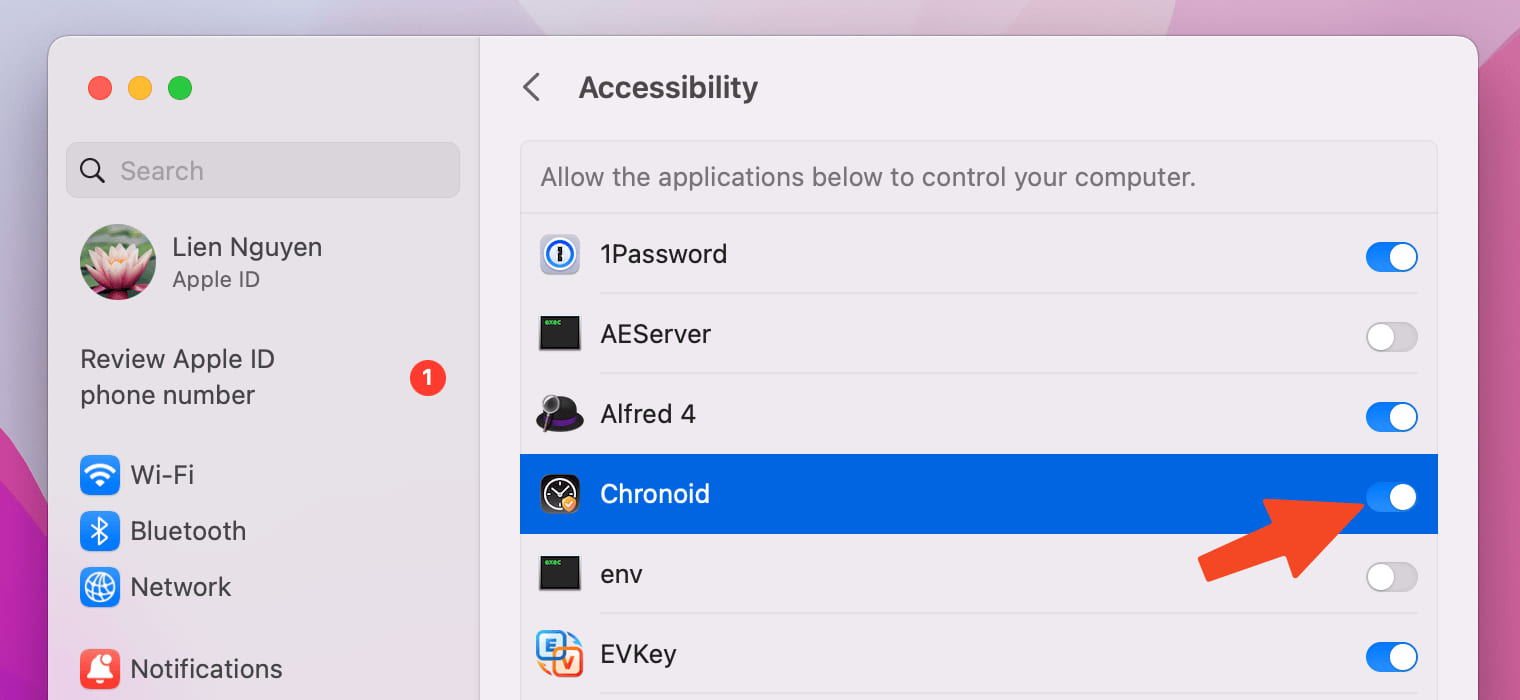
- Go to Privacy & Security → Accessibility.
- Enable the toggle for Chronoid.

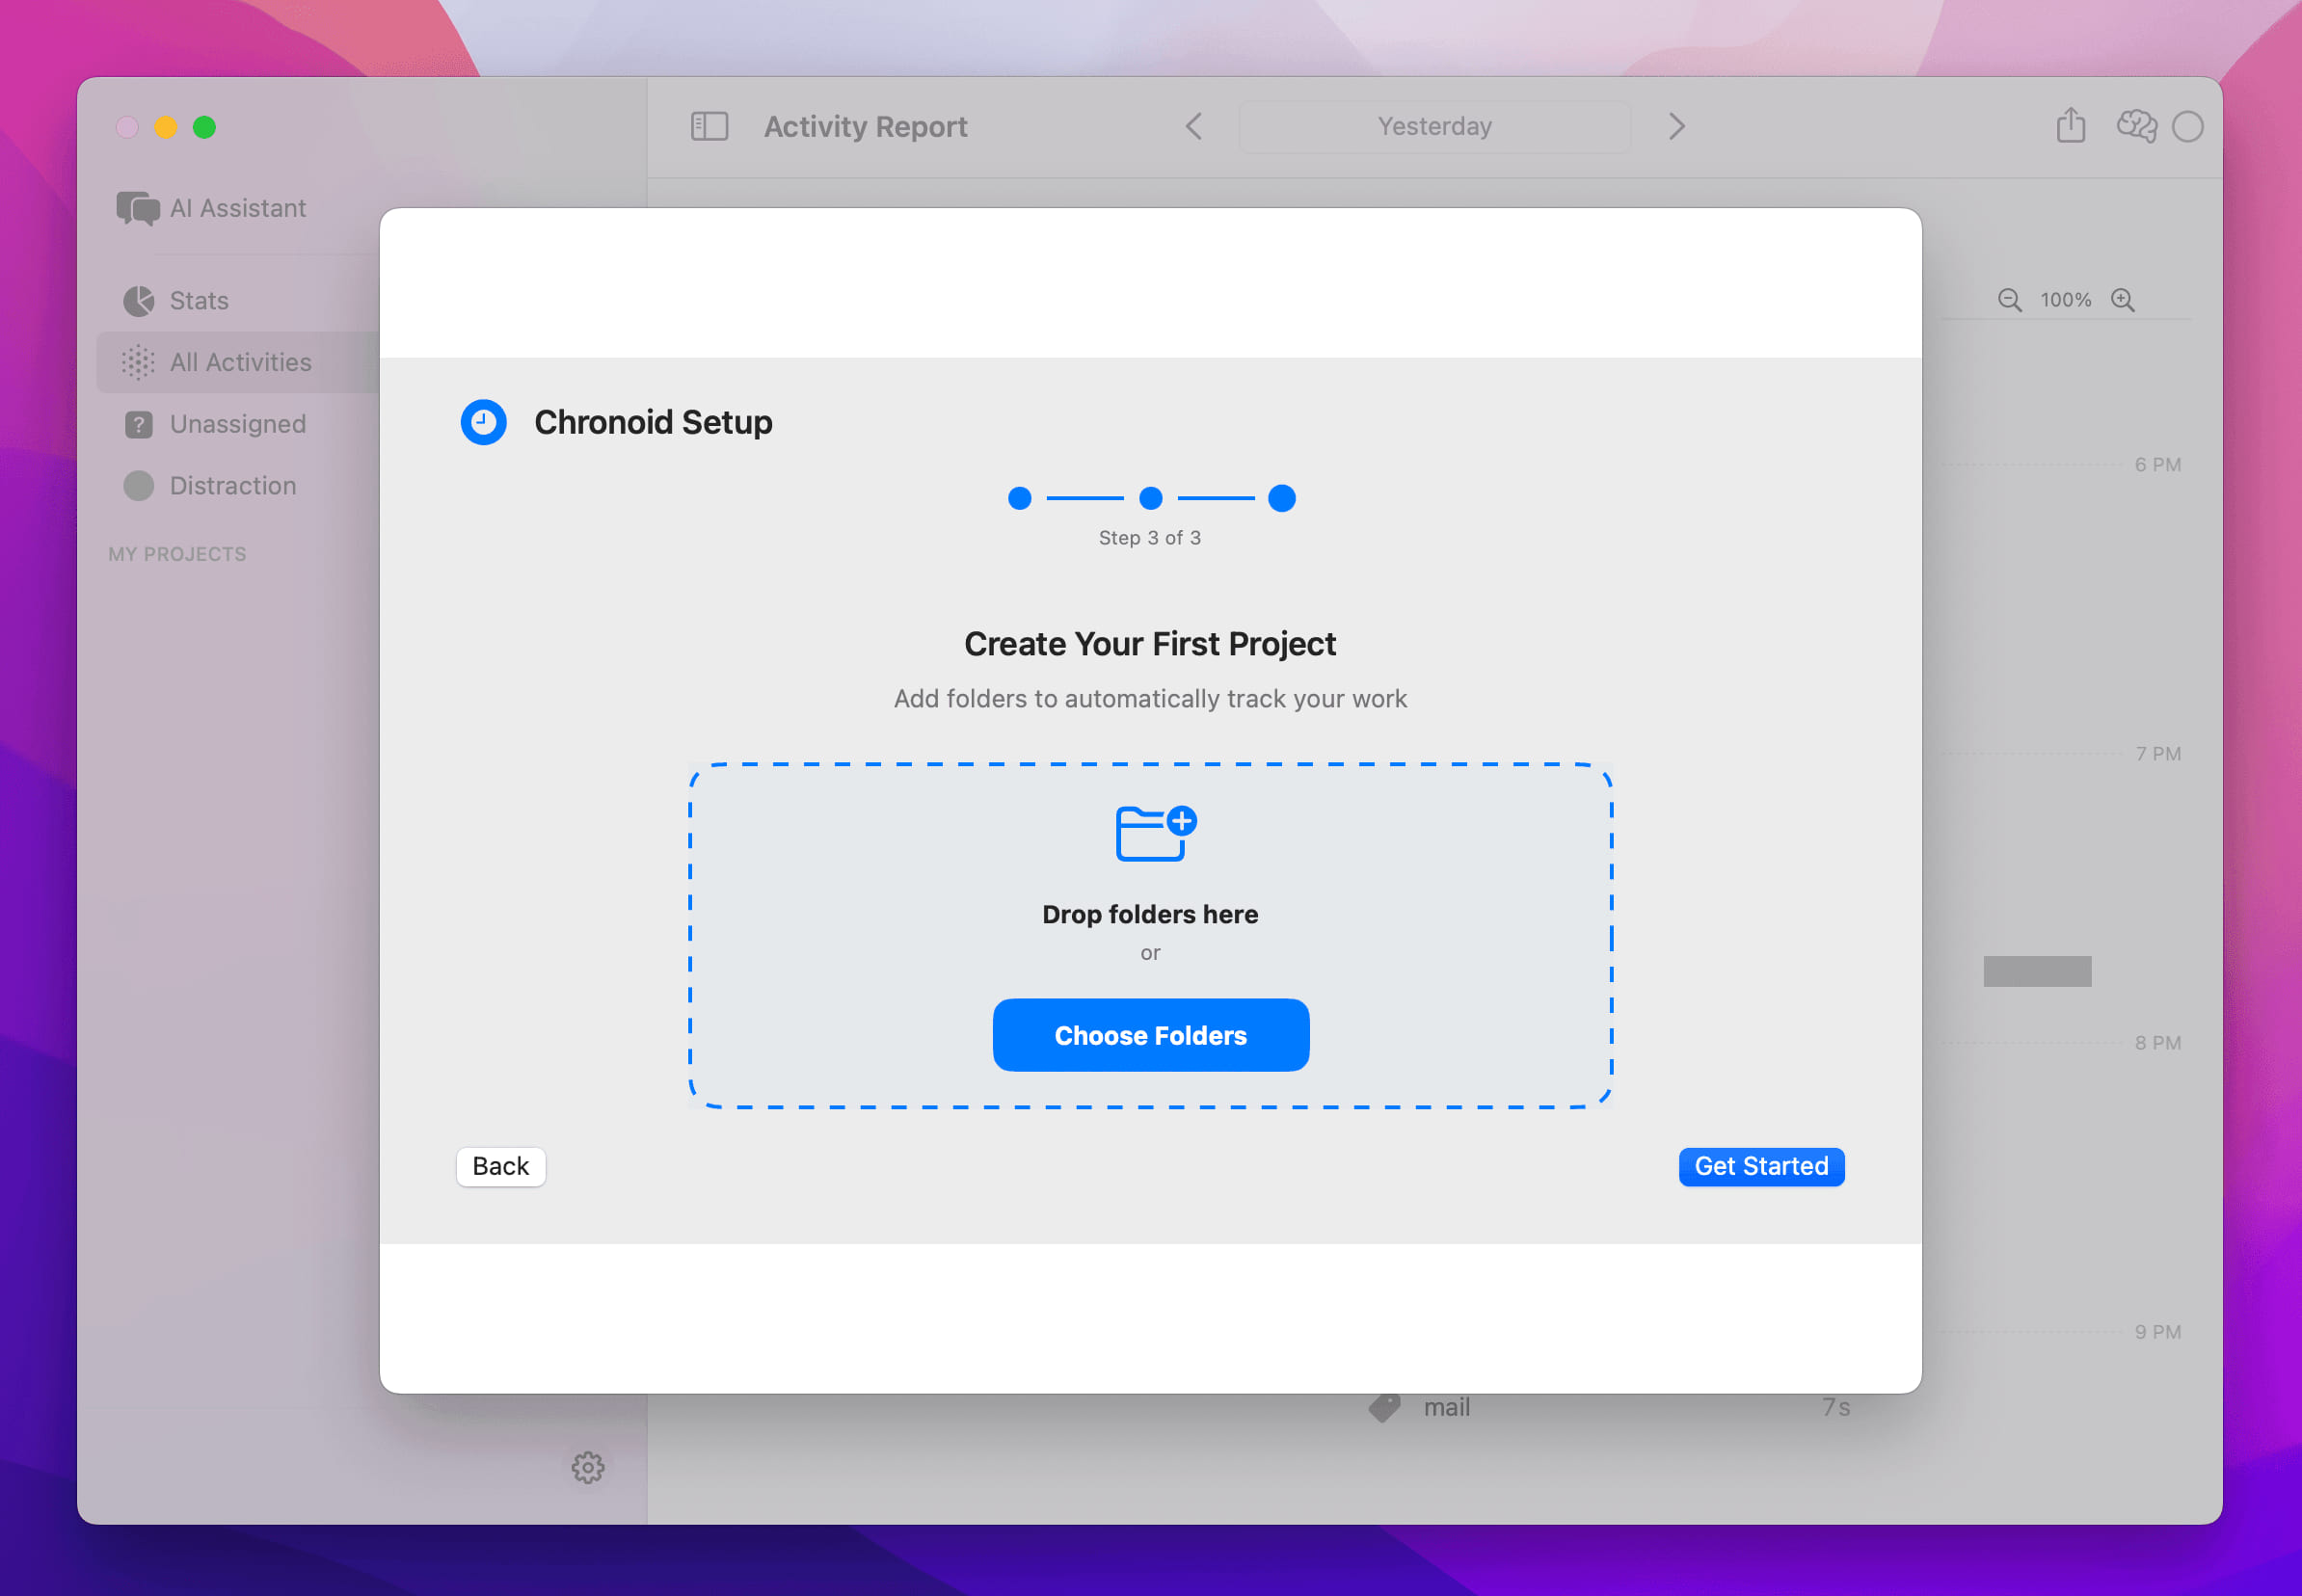
Step 2 — Create Your First Project (optional)
After granting the necessary permissions, you can set up your first project to start tracking your work more effectively.
If you’re not sure yet, you can skip this step and create one later.
- Choose your folder — Select or drag a folder that contains your project files.
Chronoid will automatically track time spent working on files inside this folder, so you can see exactly how much time you spend on each project.
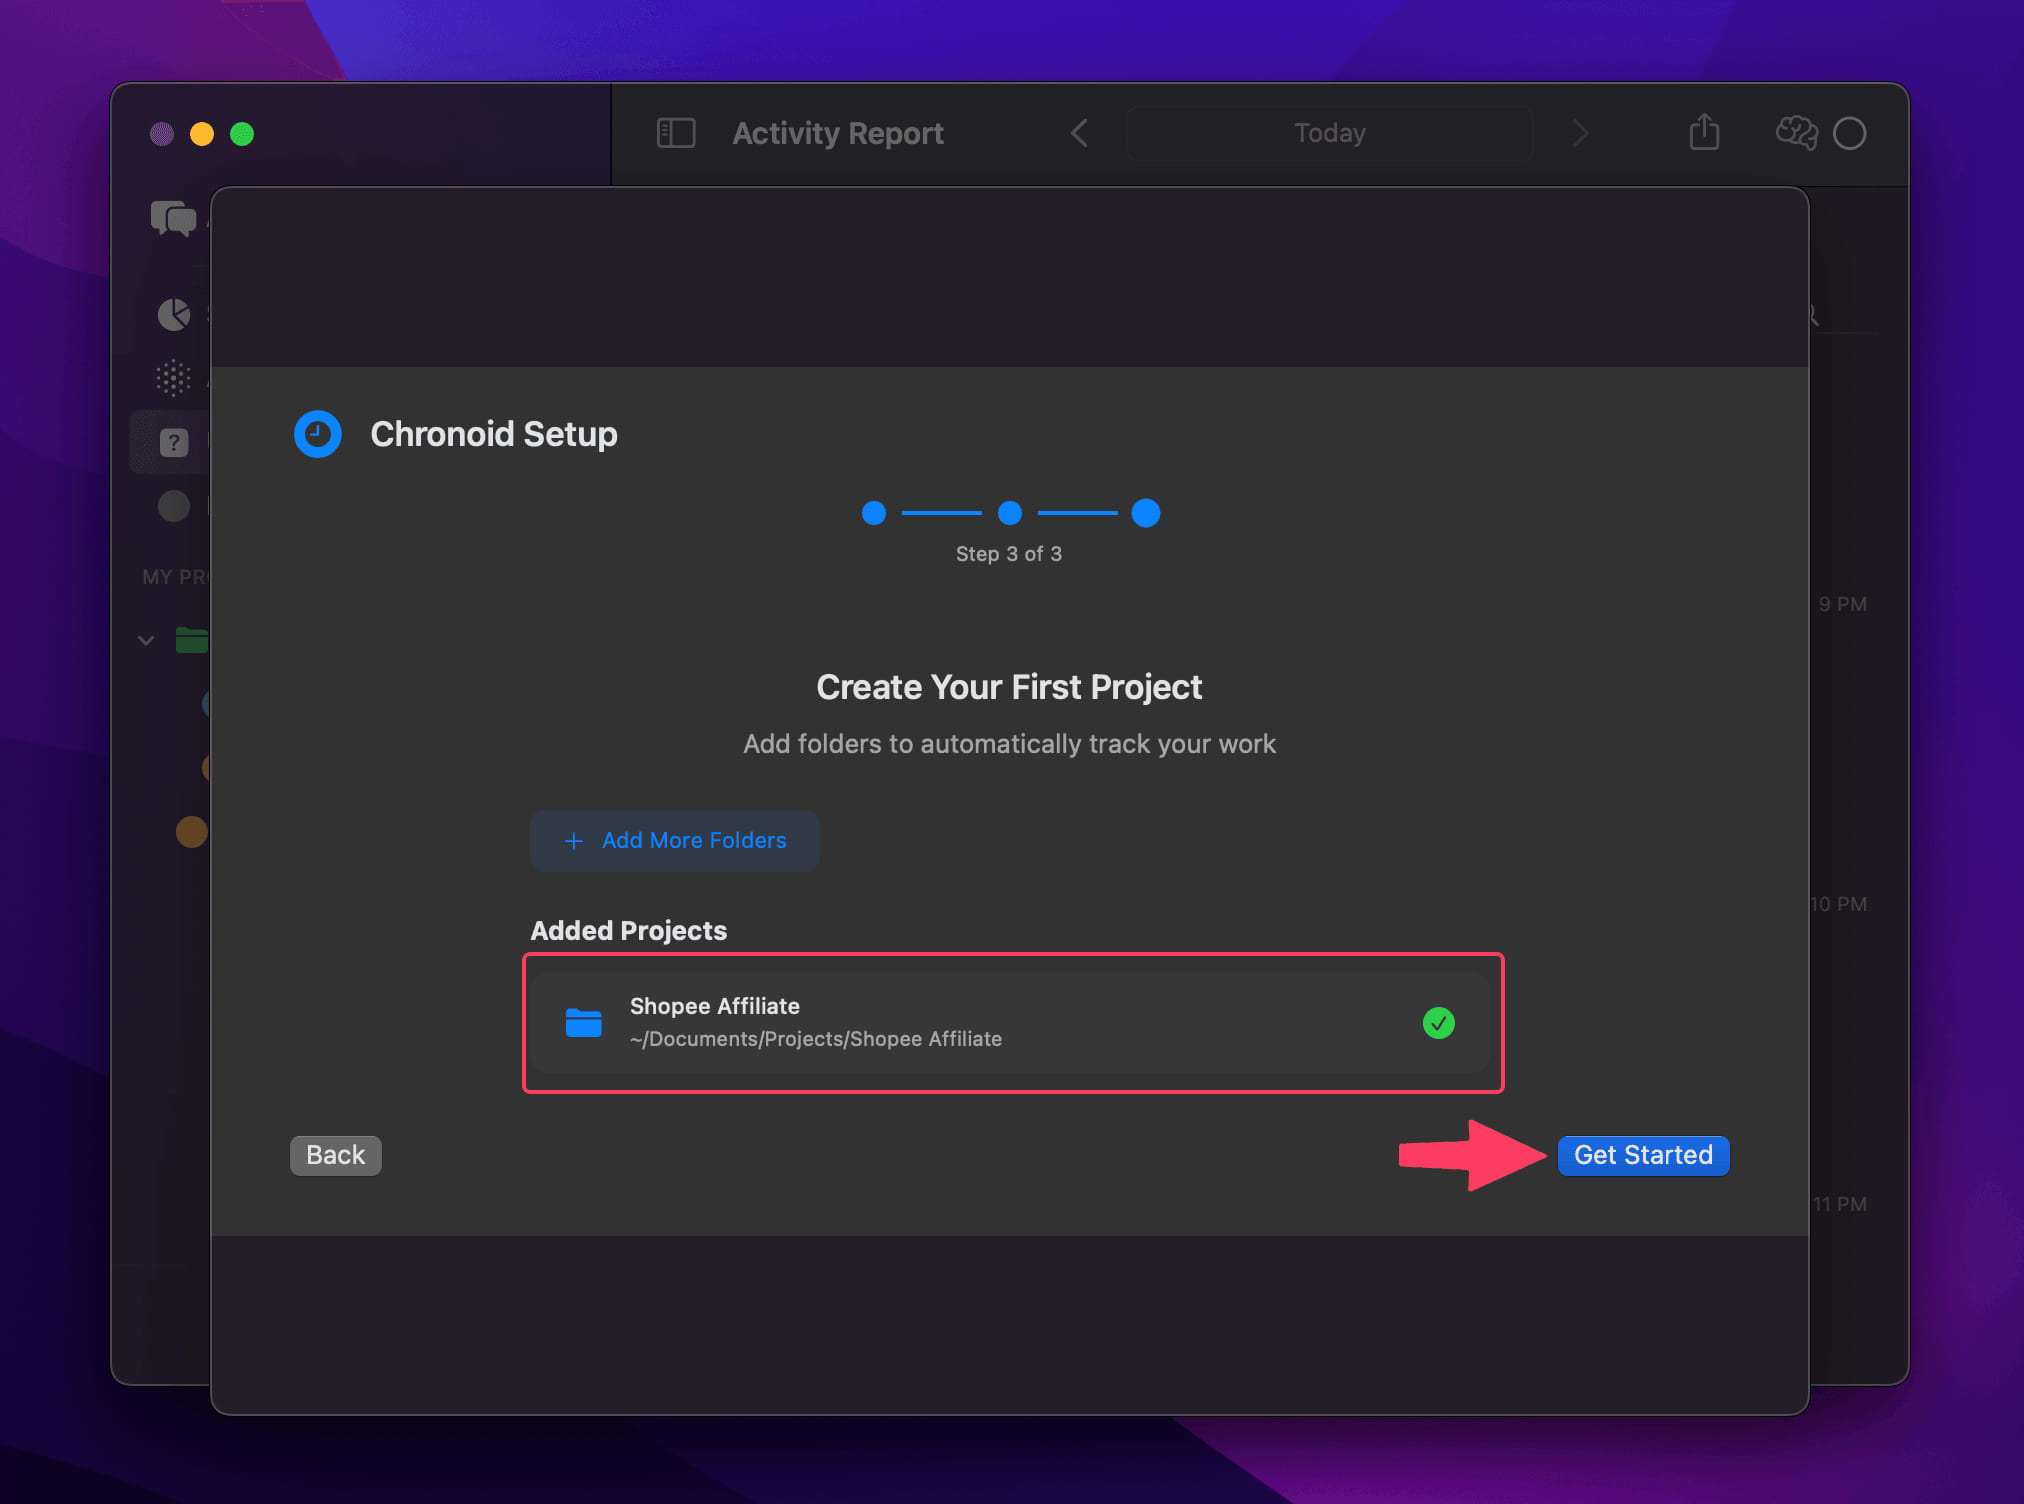
💡 Tip: You can always add, rename, or remove projects later in the sidebar.
For more help, email support@chronoid.app